This article provides a comprehensive guide to installing Mifos X 21.07.02 on a fresh Ubuntu 18.04 server with MySQL 5.7. It covers the setup of Java, MySQL, Tomcat, SSL configuration, database creation, and deployment of Mifos X components. By following these step-by-step instructions, you can successfully set up a Mifos X instance for your financial inclusion and microfinance management needs.
Mifos X is an open-source platform designed to empower organizations in the financial inclusion and microfinance sectors. It offers a flexible and scalable solution for managing financial operations, customer data, and reporting. By implementing Mifos X, institutions can streamline their processes, improve financial services, and enhance their ability to serve underserved communities.
Now, let’s dive into the detailed installation process:
- Domain and Hostname Configuration: Before starting the installation, it’s essential to point your domain to the server’s IP address and set the fully qualified hostname. This can be done using the hostnamectl command. As a prerequisite point a domain to your server’s IP. In our case it will be mifos.yourdomain.net.
Set fully qualified hostname by running hostnamectl set-hostname mifos.yourdomain.net
- Java Installation: Begin by downloading and installing the Java Development Kit (JDK) version 15.0.2. Ensure that the environment variables are correctly set in the
/etc/profile.d/mifos.shscript to defineJAVA_HOMEand update thePATH. Download jdk-15.0.2_linux-x64_bin.tar.gz from Oracle website and upload it to the server’s /root directory then run
tar xzf jdk-15.0.2_linux-x64_bin.tar.gz -C /opt/Propagate info about basic java settings
cat > /etc/profile.d/mifos.sh<<'EOF'
export JAVA_HOME=/opt/jdk-15.0.2
export PATH=$JAVA_HOME/bin:$PATH
EOF
Relogin and test it with echo $JAVA_HOME; java -version
- MySQL Server Setup: Install MySQL Server and secure it using the mysql_secure_installation command. Follow the prompts to enhance security.
apt -y install mysql-server
mysql_secure_installation
Respond to questions generated by mysql_secure_installation with: n mysql y y y y
- MySQL Root User Authentication: Change the authentication method of the MySQL root user to
mysql_native_password. This is necessary for compatibility with Mifos X.
Run in mysql shell:
ALTER USER 'root'@'localhost' IDENTIFIED WITH mysql_native_password BY 'mysql'; FLUSH PRIVILEGES;\qThe password must match the one in Tomcat’s server.xml.
- MySQL Passwordless Access: Restart MySQL server and create a .my.cnf file in the /root directory to enable passwordless access to the MySQL server.
systemctl restart mysql
cat > /root/.my.cnf<<EOF
[mysql]
user=root
password=mysql
EOF
Timezone Configuration: Verify your server runs in UTC with
date. If not then usedpkg-reconfigure tzdataand reboot the server. Verify withdateagain.Tomcat Installation: Download and install Apache Tomcat 9.0.72. Set up the Tomcat server for hosting Mifos X.
wget https://archive.apache.org/dist/tomcat/tomcat-9/v9.0.72/bin/apache-tomcat-9.0.72.tar.gz
mv apache-tomcat-9.0.72.tar.gz /usr/share
cd /usr/share
tar xzf apache-tomcat-9.0.72.tar.gz
rm -f apache-tomcat-9.0.72.tar.gz
mv apache-tomcat-9.0.72 tomcat9
Replace Tomcat’s server.xml
cat > /usr/share/tomcat9/conf/server.xml<<'EOF'
<?xml version='1.0' encoding='utf-8'?>
<Server port="8005" shutdown="SHUTDOWN">
<Listener className="org.apache.catalina.core.AprLifecycleListener" SSLEngine="on" />
<Listener className="org.apache.catalina.core.JreMemoryLeakPreventionListener" />
<Listener className="org.apache.catalina.mbeans.GlobalResourcesLifecycleListener" />
<Listener className="org.apache.catalina.core.ThreadLocalLeakPreventionListener" />
<GlobalNamingResources>
<Resource name="UserDatabase" auth="Container"
type="org.apache.catalina.UserDatabase" description="User database that can be updated and saved"
factory="org.apache.catalina.users.MemoryUserDatabaseFactory" pathname="conf/tomcat-users.xml" />
<Resource
type="javax.sql.DataSource" name="jdbc/fineract_tenants" factory="org.apache.tomcat.jdbc.pool.DataSourceFactory"
driverClassName="com.mysql.cj.jdbc.Driver" url="jdbc:mysql://localhost:3306/fineract_tenants"
username="root" password="mysql" initialSize="3" maxActive="15" maxIdle="6" minIdle="3" validationQuery="SELECT 1"
testOnBorrow="true" testOnReturn="true" testWhileIdle="true" timeBetweenEvictionRunsMillis="30000"
minEvictableIdleTimeMillis="60000" logAbandoned="true" suspectTimeout="60" />
</GlobalNamingResources>
<Service name="Catalina">
<Connector
protocol="org.apache.coyote.http11.Http11NioProtocol"
port="443" maxThreads="200" scheme="https" secure="true" SSLEnabled="true"
keystoreFile="/usr/share/tomcat.keystore" keystorePass="xyz123"
clientAuth="false" sslProtocol="TLS" URIEncoding="UTF-8" compression="force"
acceptCount="100" minSpareThreads="25" maxSpareThreads="75" enableLookups="false"
disableUploadTimeout="true" maxHttpHeaderSize="8192"
compressableMimeType="text/html,text/xml,text/plain,text/javascript,text/css"/>
<Engine name="Catalina" defaultHost="localhost">
<Realm className="org.apache.catalina.realm.LockOutRealm">
<Realm className="org.apache.catalina.realm.UserDatabaseRealm" resourceName="UserDatabase"/>
</Realm>
<Host name="localhost" appBase="webapps" unpackWARs="true" autoDeploy="true">
<Valve className="org.apache.catalina.valves.AccessLogValve" directory="logs"
prefix="localhost_access_log." suffix=".log"
pattern="%h %l %u %t "%r" %s %b" /></Host>
</Engine>
</Service>
</Server>
EOF- Tomcat’s SSL Configuration: Generate SSL certificate for tomcat. Use keystore password of xyz123. It will match the one defined in Tomcat’s
server.xml.
keytool -genkey -keyalg RSA -keysize 2048 -alias tomcat -validity 3650 -keystore /usr/share/tomcat.keystore \
-noprompt -dname "CN=${HOSTNAME}, OU=Mifos, O=Company, L=London, S=London, C=GB" -storepass xyz123 -keypass xyz123- Library Installation: Add required libraries, including the Drizzle and MySQL Connector JARs, to the Tomcat library.
wget https://repo1.maven.org/maven2/org/drizzle/jdbc/drizzle-jdbc/1.4/drizzle-jdbc-1.4.jar -O /usr/share/tomcat9/lib/drizzle-jdbc-1.4.jar
cd /tmp; wget https://downloads.mysql.com/archives/get/p/3/file/mysql-connector-java-8.0.21.tar.gz; tar xzf mysql-connector-java-8.0.21.tar.gz;
mv mysql-connector-java-8.0.21/mysql-connector-java-8.0.21.jar /usr/share/tomcat9/lib/; rm -r mysql-connector-java-8.0.21.tar.gz mysql-connector-java-8.0.21- Tomcat Systemd Startup Script: Create a systemd startup script for Tomcat to ensure it automatically starts when the server reboots. Note this script is autostarting Tomcat when it goes down.
cat >/etc/systemd/system/tomcat9.service<<'EOF'
[Unit]
Description=Tomcat 9
After=network.target

[Service]
User=root
Group=root
ExecStart=/usr/share/tomcat9/bin/startup.sh
#ExecStop=/usr/share/tomcat9/bin/shutdown.sh
ExecStop=/usr/bin/pkill -9 -u root -x java
WorkingDirectory=/usr/share/tomcat9
Type=forking
RestartSec=10
Restart=always

[Install]
WantedBy=multi-user.target
EOF

systemctl enable tomcat9- Database Creation: Create the Mifos databases (fineract_tenants and fineract_default) in MySQL. These databases will be automatically populated by the Mifos X web application.
mysql -e "create database fineract_tenants; create database fineract_default;"- Mifos X Deployment: Download and deploy the Mifos X components, including fineract-provider.war, community-app (Mifos frontend), api-docs, and Pentaho reports.
cd /root
wget https://sourceforge.net/projects/mifos/files/Mifos%20X/mifosplatform-21.07.02.PATCH_RELEASE.zip
unzip mifosplatform-21.07.02.PATCH_RELEASE.zip
cd mifosplatform-21.07.02.PATCH_RELEASE
cp fineract-provider.war /usr/share/tomcat9/webapps/
cp -r apps/community-app/ /usr/share/tomcat9/webapps/
cp -r api-docs/ /usr/share/tomcat9/webapps/
mkdir -p /root/.mifosx/pentahoReports
cp pentahoReports/* /root/.mifosx/pentahoReports/
cd /usr/share/tomcat9/webapps
mv ROOT OLDROOT
mv community-app ROOT
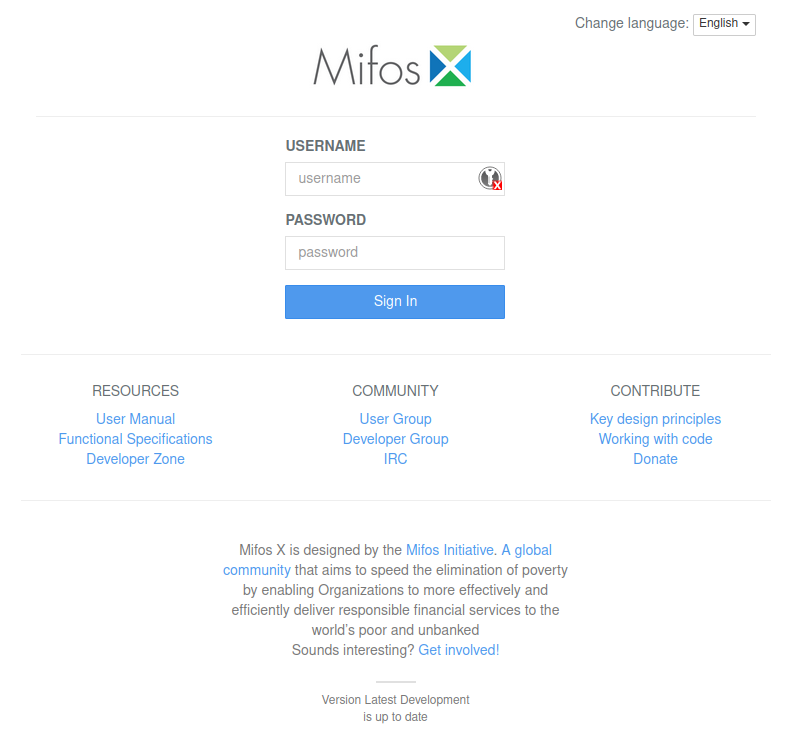
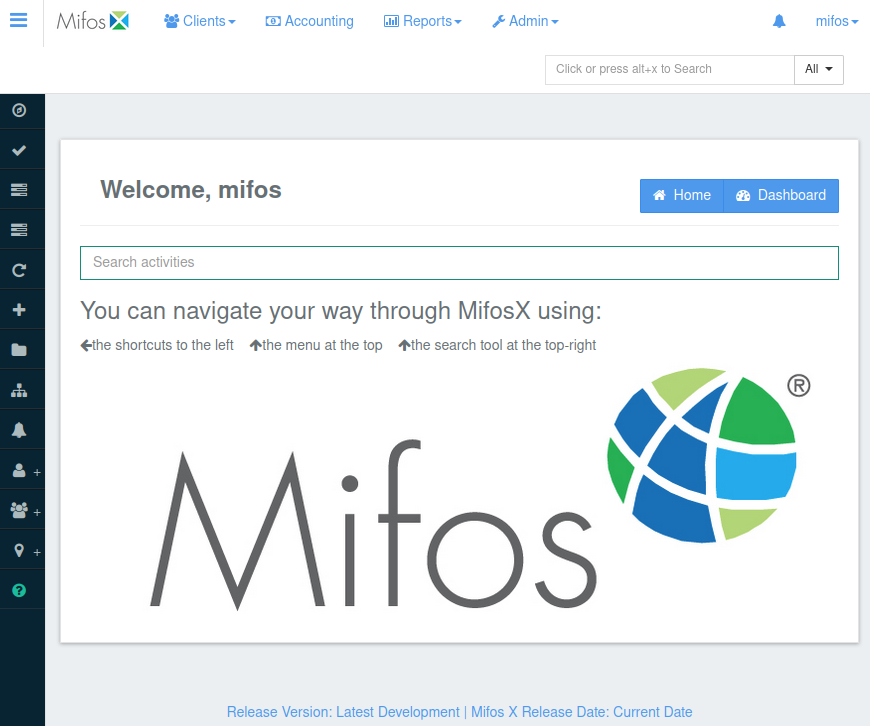
- Final Configuration: Start Tomcat for the first time and access the Mifos X web interface (user:
mifos, password:password). You may encounter a browser warning about the self-signed SSL certificate; accept it and proceed. After the initial login, please logout, then stop Tomcat and copy additional Pentaho JARs to the Tomcat directory.
systemctl start tomcat9
# HERE you login and logout to the community app at https://mifos.yourdomain.net/
systemctl stop tomcat9
cd /root/mifosplatform-21.07.02.PATCH_RELEASE
cp -vr pentaholibs/*.*  /usr/share/tomcat9/webapps/fineract-provider/WEB-INF/lib
rm -rf /root/mifosplatform-21.07.02.PATCH_RELEASE
Start Tomcat again with systemctl start tomcat9 and your Mifos X 21.07.02 instance is ready for use.

By following these detailed steps, you can successfully install and configure Mifos X on your Ubuntu 18.04 server, enabling your organization to leverage this powerful platform for financial inclusion and microfinance management. Please don’t hesitate to share any challenges you may have encountered in the comments.
