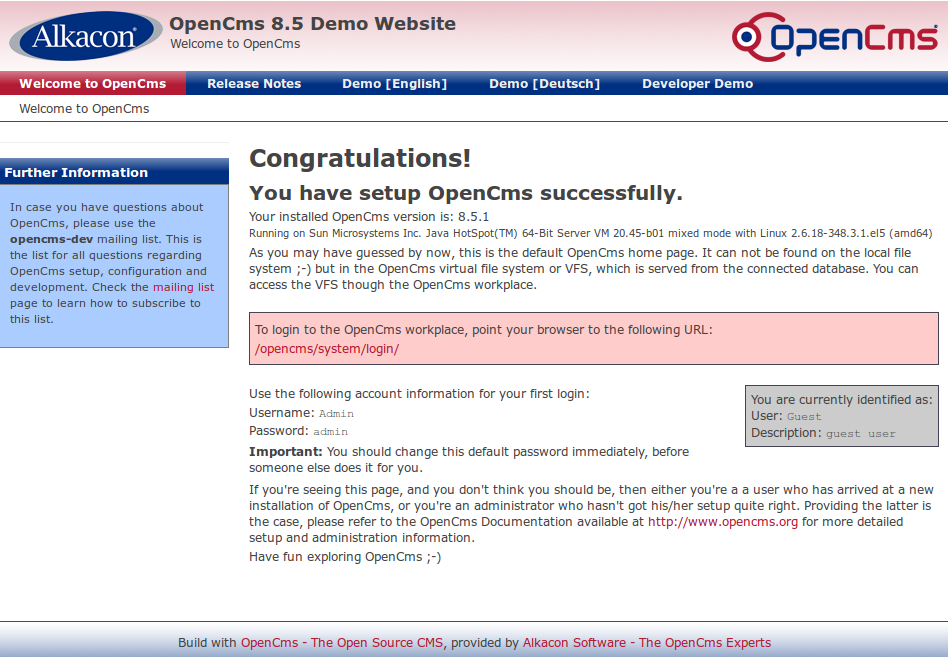
OpenCMS ia a popular Java based Content Management System. In this tutorial we show how to have it deployed in 5 minutes on JVM Host servers. This is step-by-step tutorial so everyone can easily use it. As our application server we will use Tomcat 7. Basic Tomcat package from our offer is used.
The installation can be divided into 3 parts:
- Database setup
- OpenCMS installation
- Optional URL shortening
We will first prepare our database, then proceed with CMS install and finally discuss possible URL shortening methods.
Part I - Database Setup
Login to cPanel and find MySQL Databases in Databases section. Click it to proceed with database creation.
Fill in database name suffix. Note that your database name will always begin with username_ prefix.
Create database user. Again, its name will start with username_ prefix. Save password for later use.
Assign the user to the database. Users sometimes forget about this third and required step when setting up databases in cPanel.
Check ALL Privileges on the next screen. You should now have the user displayed in ‘USERS’ column besides your database in ‘Current Databases’ table.

Here we completed database part.
Part II - OpenCMS setup
Login to your account with a SSH client and run below commands. Stopping Tomcat is not needed as initial deployment does not require database connection. Database credentials will be provided in the interactive setup below. Do not forget to replace Tomcat version with your version (we used 7.0.40). This command set will download and unpack OpenCMS to your Tomcat’s webapps directory.
cd && wget http://www.opencms.org/downloads/opencms/opencms_8.5.1.zip
    unzip opencms_8.5.1.zip opencms.war
    rm -rf appservers/apache-tomcat-7.0.40/webapps/ROOT
    mv opencms.war appservers/apache-tomcat-7.0.40/webapps/ROOT.war
Now proceed with setup via your browser. Open http://username.jvmhost.net/setup/ and follow onscreen instructions:
- accept the terms of license agreement
- review component tests - if you happen to run with
max_allowed_packet < 32MByou will get one more screen with a warning. Just click OK. You may also contact support and we will increase the value. - provide database credentials
- at an existing database has been detected. Drop it? say Yes
- review module selection (default setting is fine)
- on Setting screen you can leave MAC address field empty - a random one will then be generated
- importing modules can take some time (a 5 minutes) - be patient
- after Wizard finished remove
setupdirectory fromwebapps/ROOT - login to the backend with user Admin and password admin at http://username.jvmhost.net/opencms/system/login

Part III - URL Shortening (optional)
In this tutorial we set up the web application as default Tomcat application (webapps/ROOT) so URLs will look like http://username.jvmhost.net/opencms/system/login/
Also common approach is to install it at /opencms context. This will result in URLs like:
http://username.jvmhost.net/opencms/opencms/system/login/
To achieve it just copy the WAR to webapps (do not rename it to ROOT.war). Last line of the above command set will then be
mv opencms.war appservers/apache-tomcat-7.0.40/webappsThird possbility is to remove _opencms _from URLs completely so that they look like:
http://username.jvmhost.net/system/login/
It can be achieved by filtering out this URL component with UriRewriteFilter. Possible command set to achieve the result is:
wget http://opencms.996256.n3.nabble.com/attachment/10246/0/UriRewriteFilter.java
dos2unix UriRewriteFilter.java
javac -cp appservers/apache-tomcat-7.0.40/lib/servlet-api.jar ~/UriRewriteFilter.java
mkdir -p appservers/apache-tomcat-7.0.40/webapps/ROOT/WEB-INF/classes/com/dcampus/opencms/web
cp ~/UriRewriteFilter*.class ~/appservers/apache-tomcat-7.0.40/webapps/ROOT/WEB-INF/classes/com/dcampus/opencms/web
Insert filter definition and mapping into ROOT/WEB-INF/web.xml
<filter>
     <filter-name>UriRewriteFilter</filter-name>
     <filter-class>com.dcampus.opencms.web.UriRewriteFilter</filter-class>
     <init-param>
      <param-name>ignore-uri</param-name>
      <param-value>/opencms/,
      /resources/,
      /export/,
      /setup/,
      /update/,
      /webdav/,
      /opencms-errorhandler/</param-value>
     </init-param>
     <init-param>
      <param-name>prefix</param-name>
      <param-value>/opencms</param-value>
     </init-param>
</filter>
<filter-mapping>
     <filter-name>UriRewriteFilter</filter-name>
     <url-pattern>/*</url-pattern>
</filter-mapping>
More URIs can be excluded from VFS by adding them to ignore-uri parameter if needed in your specific setup. Modify the value of vfs-prefix in WEB-INF/config/opencms-importexport.xml from ${CONTEXT_NAME}${SERVLET_NAME} to ${CONTEXT_NAME}
sed -i 's/${CONTEXT_NAME}${SERVLET_NAME}/${CONTEXT_NAME}/' ~/appservers/apache-tomcat-7.0.40/webapps/ROOT/WEB-INF/config/opencms-importexport.xmlRestart Tomcat with jr command or using our custom Java Control Panel.
Summary - Where is your OpenCMS instance reachable?
- if you drop opencms.war into webapps it will be reachable at
http://username.jvmhost.net/opencms/opencms/welcome - if you drop the WAR renamed to ROOT.war into webapps it will be reachable at
http://username.jvmhost.net/opencms/welcome - if you do above and additionally apply UriRewriteFilter as explained above it will be reachable at
http://username.jvmhost.net/welcome
There is another method of stripping ‘opencms’ from URL described in OpenCMS wiki.
If you prefer to implement this one for a reason please contact JVM Host support and we will do it for you.
Heap and non-heap memory usage for Tomcat 7 with JDK 6 running idle OpenCMS is presented below.

References: UriRewiteFilter for OpenCMS
